The cyclocross bike is raced on (primarily) on courses varying in terrain from flat to rolling to very steep short hills for periods of time raning from 30 to 60 minutes. The surface is generally grass, hard pack dirt (sand, clay, granite…) and or asphalt.
The intent of the cyclocross geometry is to create a moderate to aggressive rider position with the sole purpose of conquering technical terrain (bumps, off-cambers, high-low speed turns, manmade and natural barriers…) and delivering power, torque and speed in an efficient manner. The big questions are how to get into the right position so that the athlete can tackle the toughest courses and produce the highest power with the least amount of energy expended.
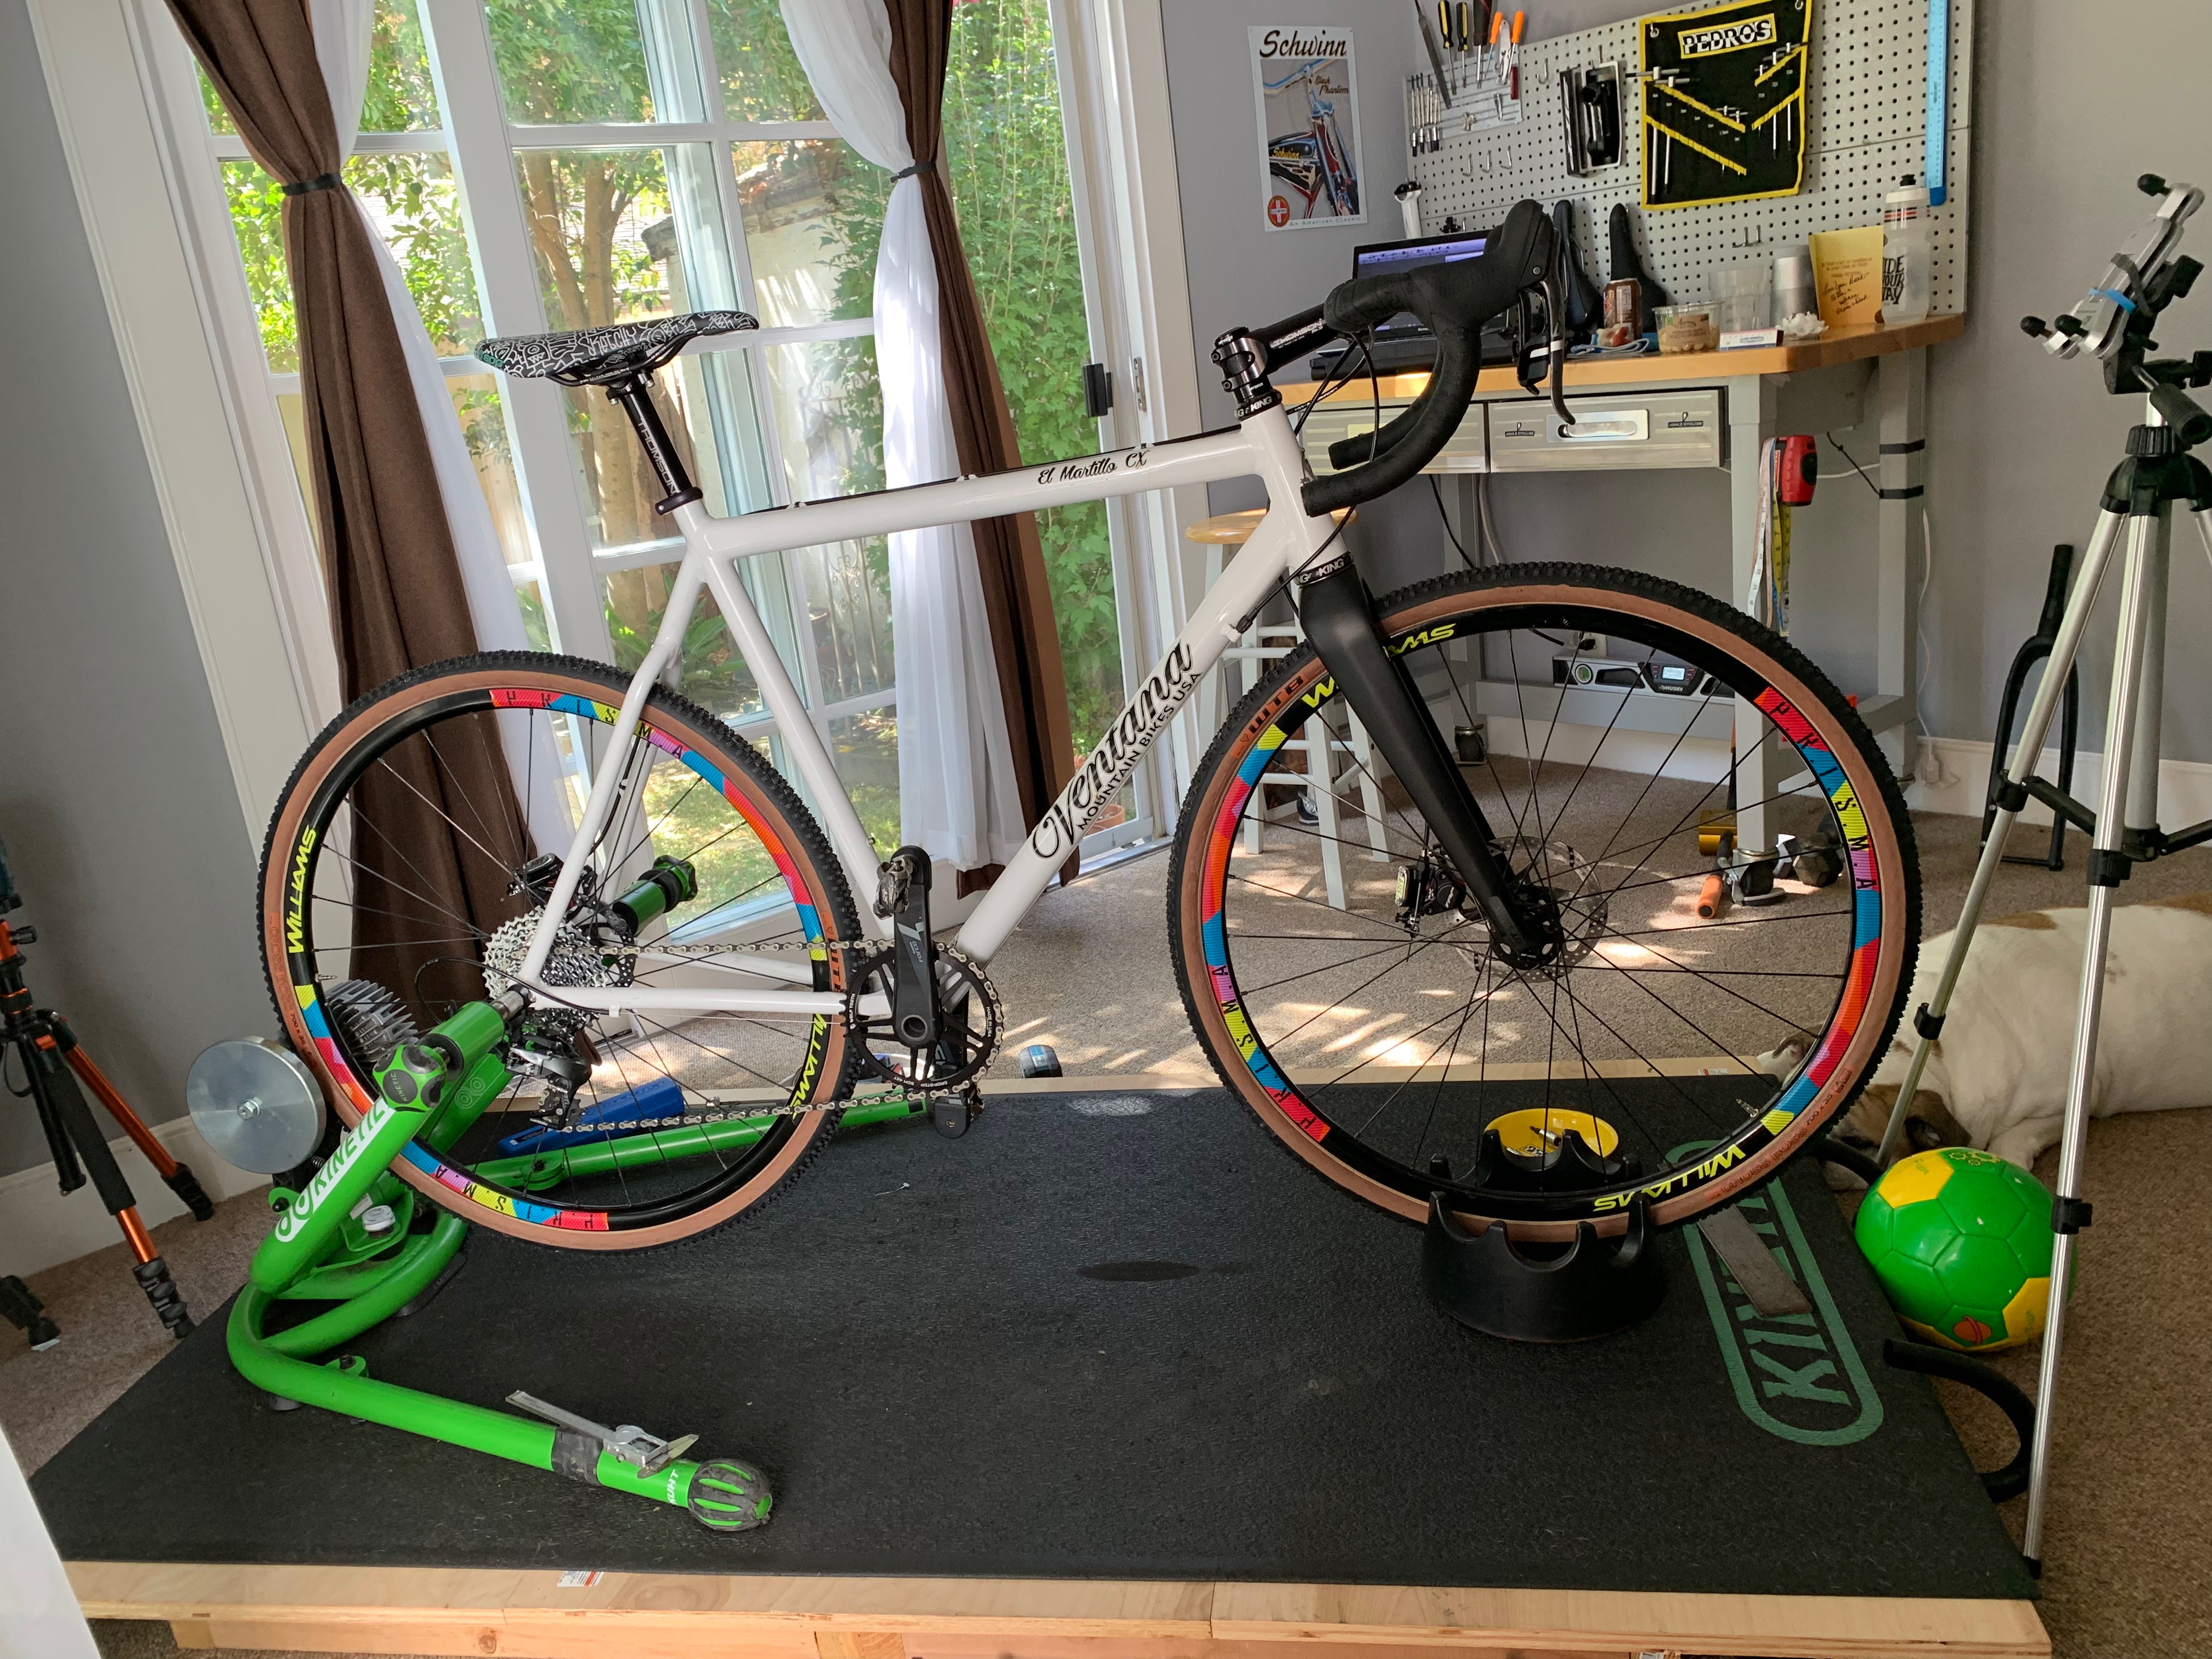
The athlete’s whose bike is featured the pic below was previously fit under my process – a process (in a nutshell) that includes measuring the leg, trunk and foot and then comparing those measurements to the geometry of the bike which results in a fit solution containing saddle height, saddle fore/aft, effective body extension cleat alignment and other variables like saddle tilt, handlebar angle, hood placement, shifter lever reach. With the solution in hand, it was time to examine the existing conditions of the bike and then start making changes.
Bike Data
- Brand: Ventana
- Model: El Martillo CX. “The Hammer”
- Size: Large
- Year: Unspecified (2014?)
- Notables: Thomson 0 degree stem
Fit Data
- The first step is to check saddle fore/aft which in this case required a rather sizable adjustment. Based upon the athlete’s hip dimensions he needed to be 60 millimeters from centerline to saddle sweet spot and instead he had the saddle set at 75 millimeters from the centerline to saddle sweet spot.
- The next step is to check the saddle tilt. The tilt was measured at -1 degrees measured from the sweet spot of the saddle. Considering the amount of aero pad drop, the -1 degree tilt was sufficient.
- The third step is to check Saddle height. The height was too high and causing the athlete to overextended his legs which can cause knee pain and other discomforts. So I lowered the saddle by 15 millimeters
- The fourth step is to check effective body extension which was too short – this was not due to a short top tube but rather a very short stem (75mm with a -6 degree angle). The short stem caused the athlete’s torso to be too upright and limited the use of multiple handlebar positions (tops, hoods, and drops). So I recommended a new stem that measured 110 millimeters in length and a 0-degree angle which works great for CX bikes. The new stem lengthened the reach and increased torso angle to the proper position which allowed for a more aggressive position and ability to leverage power and handing from the handlebars.
- The fifth was to configure headset spacers so that the above-horizontal or bar-drop measured around 50 millimeters. This setting allows for increased handling capabilities based upon the rider’s torso and arm length dimensions.
- The last steps are setting hoods and bar angles – in this case, the hood was too upright causing the wrists to bend so I moved them down and correlated the 10-degree bar angle at the same time.
Conclusion
After a long warm-up on the trainer and multiple hard efforts, I was pleased with the athlete’s position on the bike. I asked the athlete for feedback and based on the changes made he felt that the ability to produce power was greater and that the cockpit length allowed for a more comfortable position and ability to produce more power out of the saddle while maintaining a high level of control i.e. handling. The end result of the fit can be seen in the pic below.
